Blog
Discover the benefits of bespoke joinery and custom cabinetry
How to build a media wall
Are you wondering;
Can i build a media wall myself?
Is it easy to build a media wall yourself?
In today's contemporary homes, the desire is not just for comfort but also for style. A popular solution to achieve both is the creation of a media wall - a blend of technology and design that serves as a chic yet practical centre-piece in any room.

If you're considering upgrading your living space with your own media wall, here's a comprehensive guide to help you get started.
What Exactly Is a Media Wall?
Essentially, a media wall is a stud wall designed to mimic a chimney breast. As the name implies, it acts as a centralised hub for all your entertainment needs. Its primary purpose is to provide a clean and organised space for your TV, ensuring that all cables and accessories are neatly tucked away.
Beyond functionality, the design options are vast. Advanced versions may include recessed shelving, hidden drawers for remotes, or cabinets that not only enhance the aesthetics but also provide valuable storage solutions.

Planning & Design Tips
1. Purpose and Functionality: Determine what you want your media wall to accommodate - just a TV, or additional elements like an electric fireplace, gaming consoles, or sound systems. This will greatly impact the design.
2. Measurements: Decide how much space you want to allocate for your media wall, considering the TV size, mounting height, and other items you plan to incorporate.
Adding Functional Spaces
1. Shelving & Storage: Choose between open shelves, drawers, or closed cabinets based on your needs, and create the spaces within the stud walls accordingly.
2. Recessed Spaces: For devices requiring remote access, consider incorporating recessed shelves for a clean look.
Managing Cables
A major benefit of a media wall is hiding unsightly cables. Create concealed channels behind the wall for the wires. Also:
* Install enough power sockets at the back.
* Recess or use surface-mounted sockets.
* Ensure they remain accessible for future maintenance needs.
Step-by-Step Guide on Building a Media Wall
Depending on preference, either metal or timber stud-work can be used for the frame. Here's a walkthrough focusing on constructing a wooden frame media wall.

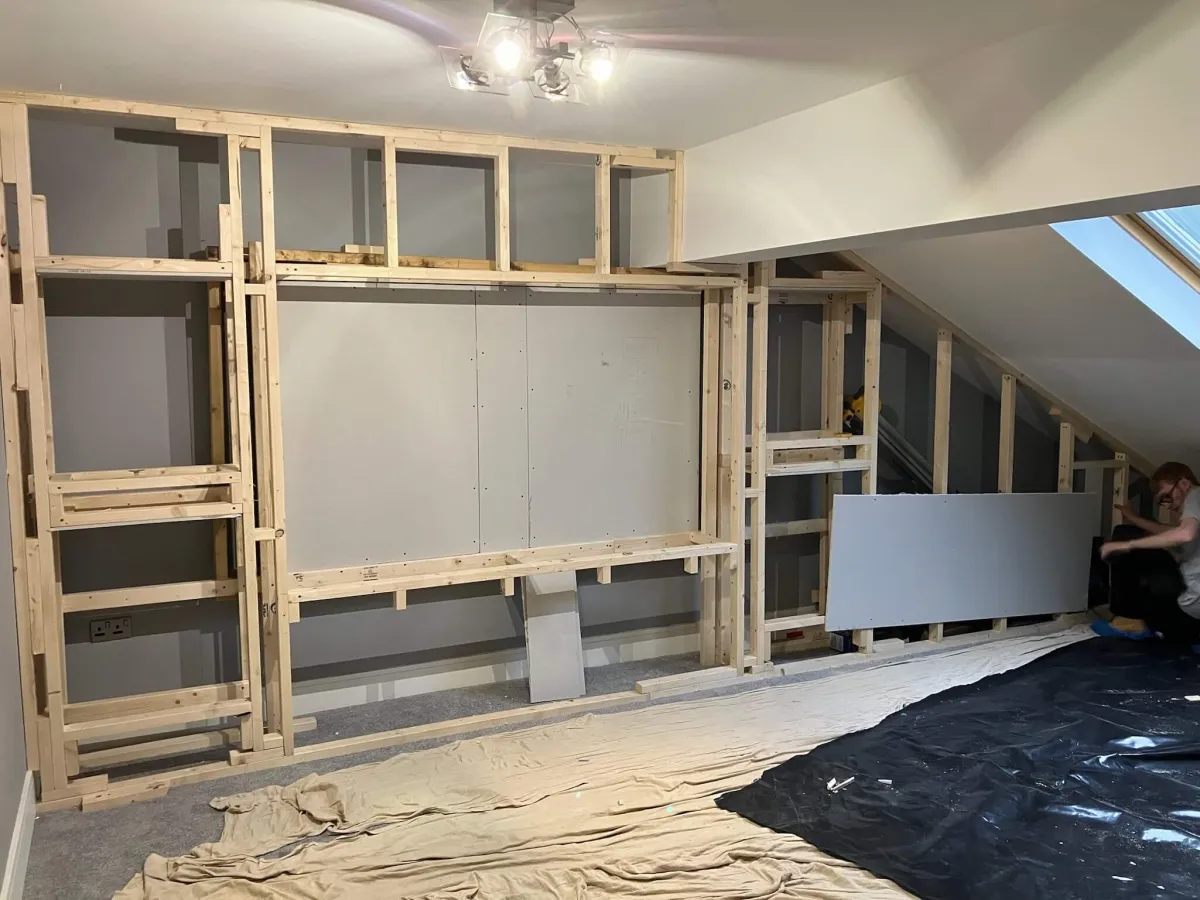
Constructing the Framework
1. Gather Materials and Tools: Collect wood, screws, measuring tape, level, and necessary tools.
2. Plan the Layout: Sketch the layout, marking TV and fireplace positions.
3. Install Vertical Studs: Set up the primary support structure.
4. Add Horizontal Bracing: Enhance rigidity by installing horizontal supports.
5. Measure Cavities: Determine the depth needed for TV and fireplace recesses.
6. Build Recesses: Construct the cavities within the stud wall.
7. Check Depth: Ensure the TV and fireplace will sit flush with the wall.
8. Add Internal Support: Install additional support for brackets within the cavities.
Electric Installation
1. Install Brackets: Fix brackets according to TV and fireplace models.
2. Manage Electrics: Plan for plug sockets and consider placement options. Always involve a qualified electrician.
3. Wall Covering and Finishing: Securely attach plasterboard sheets to the frame and skim for a smooth finish.
4. Mount TV and Fireplace: Ensure proper installation into the studs.
5. Wiring and Electrics: Consider socket placement for a neat look, involving professionals for electrical work.
Finishing Touches
1. Finalise: Add skirting boards or other features to personalise and match your specific, personal style and overall room aesthetics.
2. Cladding: Choose MDF for a smooth finish or plasterboard for painting.
3. Paint: Opt for a colour that complements the room, using matte paint to avoid reflections.
4. Decorative Touches: Enhance aesthetics with LED strips or mood lighting.
In conclusion, building a media wall can be a rewarding DIY project with the right planning and tools. For any uncertainties, especially regarding electrical work, seek professional assistance. A well-designed media wall will not only enhance your entertainment space but also become a stunning focal point in your home.
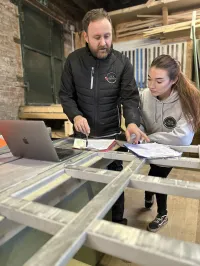
Alternatively, if you’ve read all the above and are still scratching your head.. you can take the matter out of your own hands and place them in the experienced hands of JAX Bespoke.
Based in Wakefield, West Yorkshire, JAX Bespoke design, manufacture and install bespoke media walls, kitchens and fitted furniture across the whole of Yorkshire.
Serving All of Yorkshire - Premium Bespoke Furniture and Kitchen Specialists
From the historic streets of York to the modern developments of Leeds, JAX Bespoke proudly serves the entire Yorkshire region with our premium furniture solutions. Our Yorkshire craftsmanship, based in Wakefield, travels across the county, bringing luxury fitted furniture to homes in every corner
Yorkshire Regions We Cover:
West Yorkshire
• Leeds
• Wakefield
• Bradford
• Huddersfield
• Halifax
North Yorkshire
• York
• Harrogate
• Ilkley
• Wetherby
• Skipton
South Yorkshire
• Sheffield
• Whirlow / Ecclesall
• Rotherham
• Doncaster
• Barnsley
East Yorkshire
• Swanland
• Beverley
• North Ferriby
• Brough
• Walkington and surroundings
Get In Touch